Minimal Example
Let’s start with a quick and simple setup using a public Figma file that contains a set of icons.
We’ll use this community file as our source: 👉 Coolicons — Free Iconset
Preparation
Step 1: Get the file_key
When you open that link in your browser, you’ll see the Figma file URL. The file_key is the part right after /design/:
https://www.figma.com/design/MhjeA23R15tAR3PO2JamCv/coolicons-...
                             ^^^^^^^^^^^^^^^^^^^^^^ <- This is the file_key
Step 2: Get a container node id
FigX needs to know where exactly to look for assets in your Figma file — that's where container node IDs come in.
To get one, simply right-click the frame or component group you're interested in, and copy its "Copy link" (selection URL).
For example, if you copy the link for a container holding a set of icons:
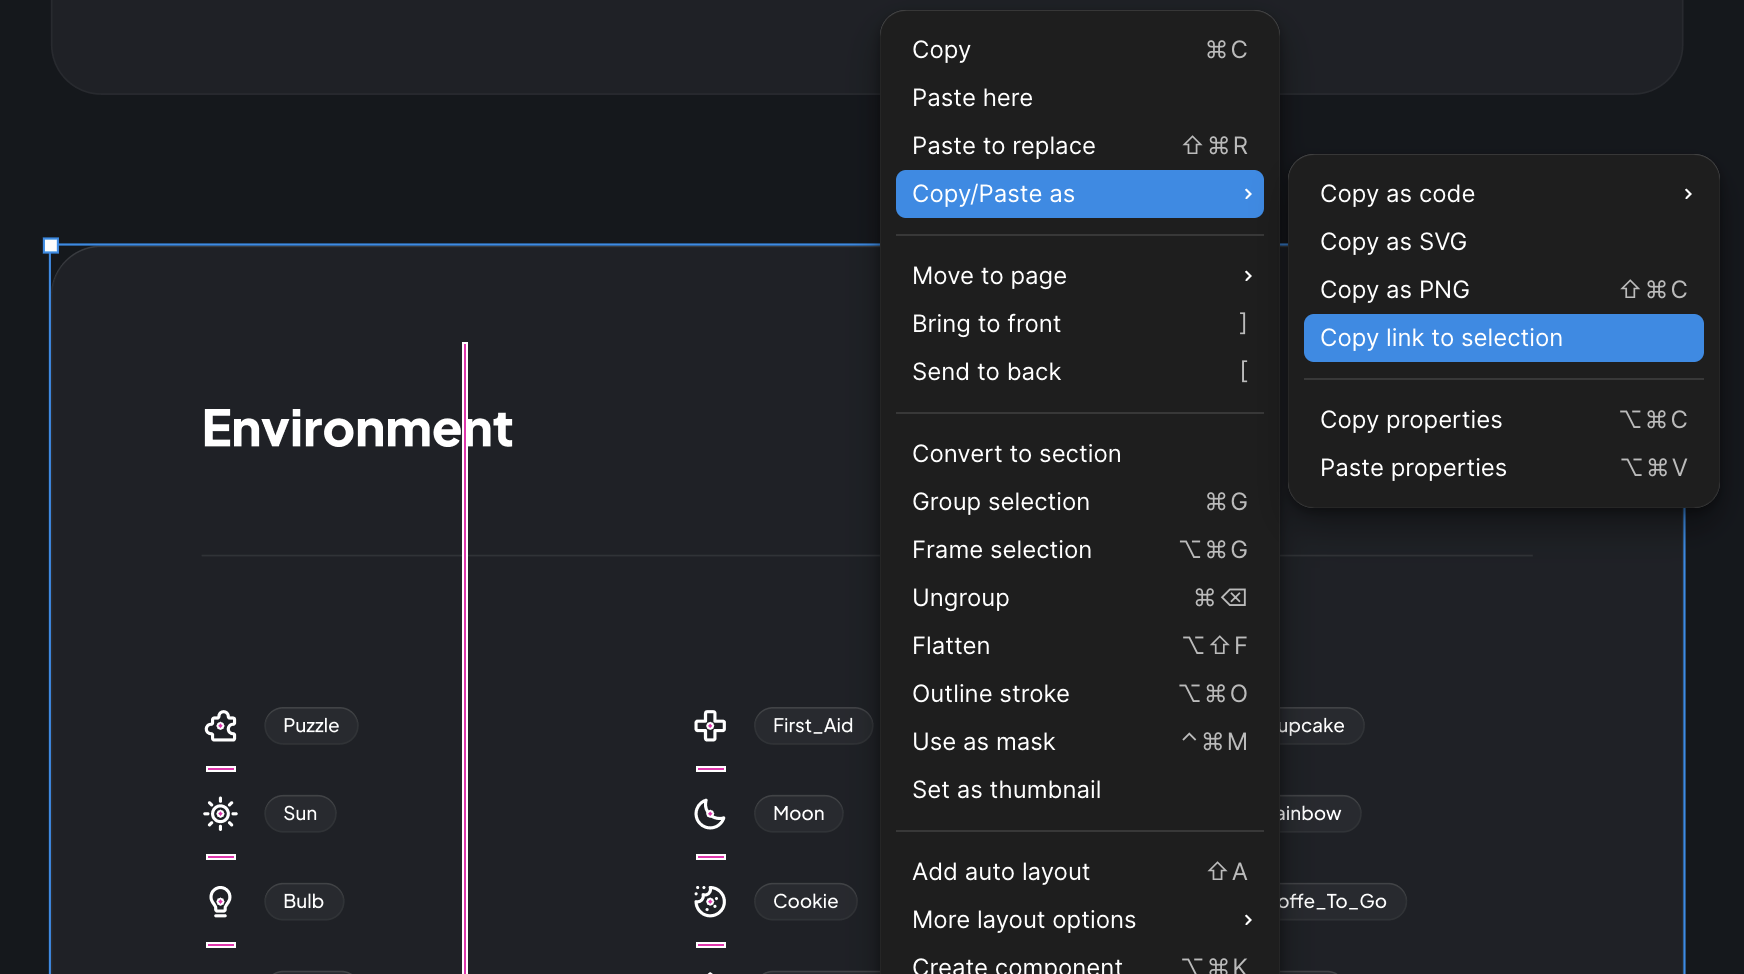
The URL will look something like this:
https://www.figma.com/design/.../...?node-id=30788-66292
                                             ^^^^^^^^^^^ <- node id of our container
You can include one or more of these IDs in your .figtree.toml config to tell FigX where to fetch assets from.
Step 3: Get a Figma Access Token
To let FigX communicate with Figma’s REST API, you need an access token.
For a quick temporary token (valid for a few hours), go here: 👉 https://www.figma.com/developers/api#access-tokens
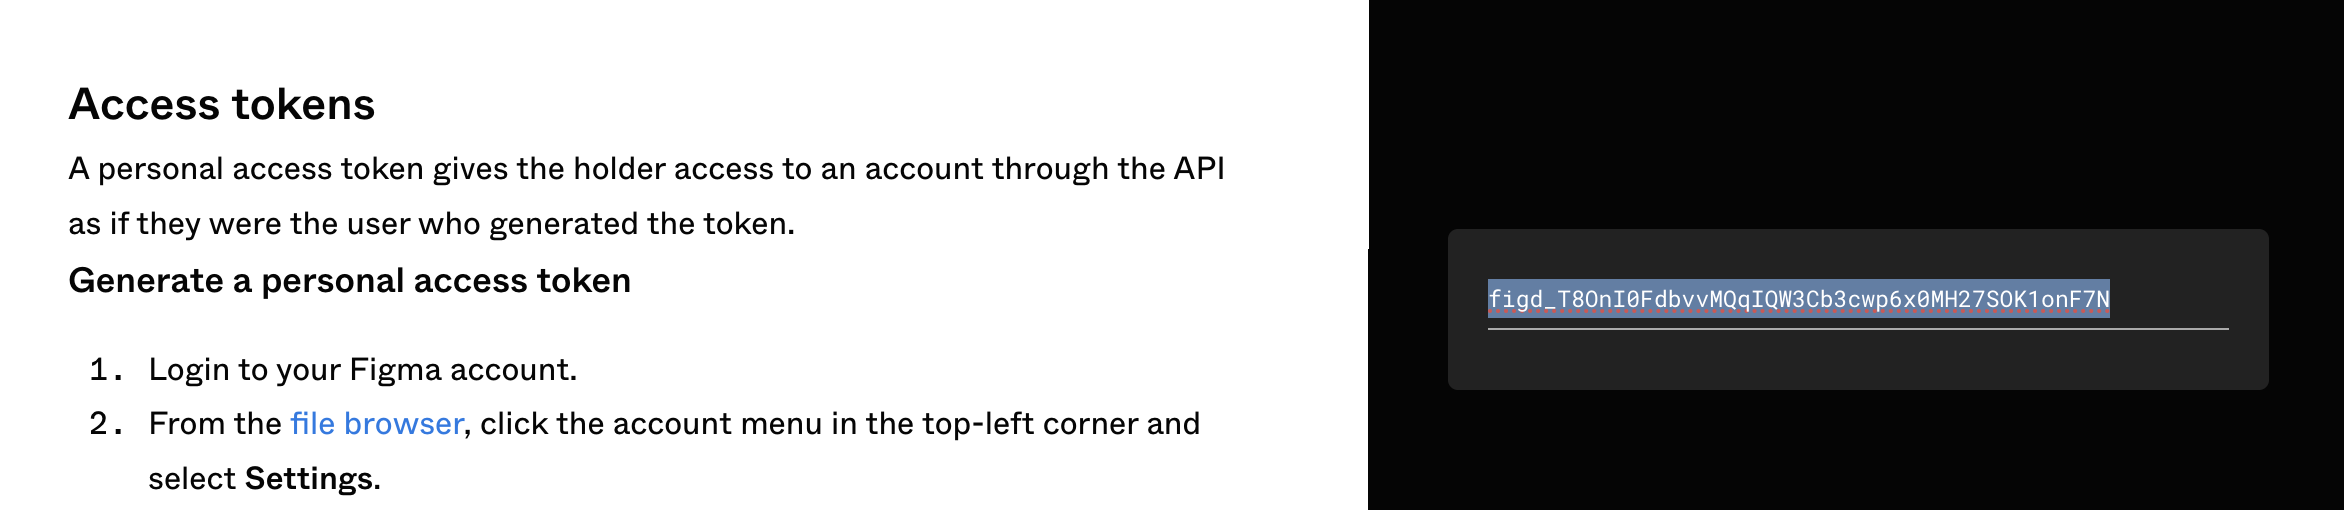
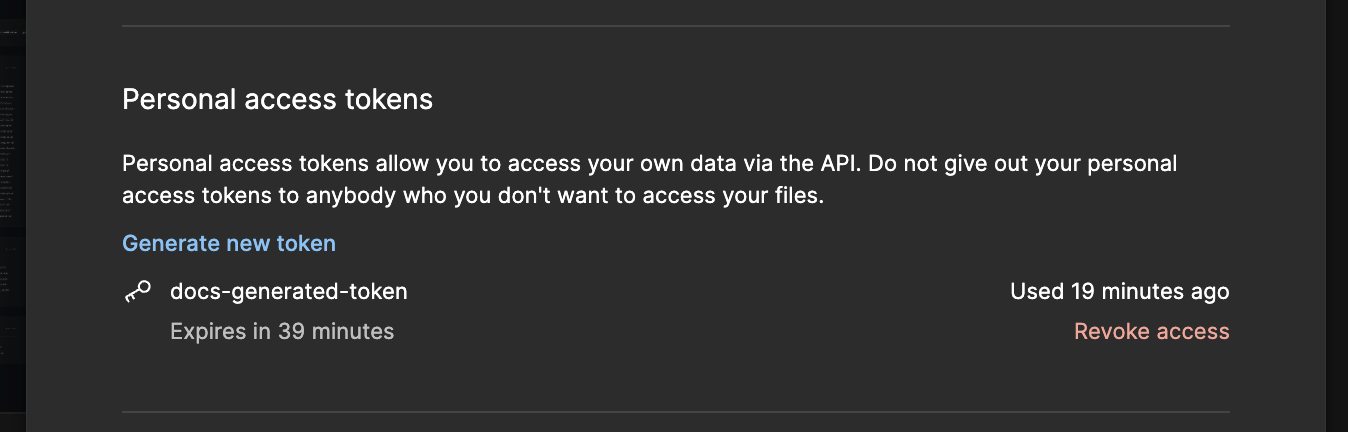
For a permanent personal token, you can generate one in your Figma account settings:
Setup
Step 1: Create a Workspace
Now let’s set up the project.
In the root of your repository, create a .figtree.toml file:
[remotes.figma]
file_key = "MhjeA23R15tAR3PO2JamCv"      # From the URL
container_node_ids = ["30788-66292"]     # The container node ID where icons live
access_token = "..."                     # Your Figma access token
That’s all you need for the global config.
Step 2: Add a Fig-file (Package Config)
Next, create a .fig.toml file in the same directory (we’ll treat the root as a package for now):
[svg]
puzzle = "Environment / Puzzle"
This tells FigX to pull a vector image named "Environment / Puzzle" from Figma, and save it locally as puzzle.svg using the svg profile.
![]()
Step 3: Run the Import
With everything set up, run the CLI:
figx import //...
✅ Done!
You’ll see a new file puzzle.svg in your current directory, exported straight from Figma:
